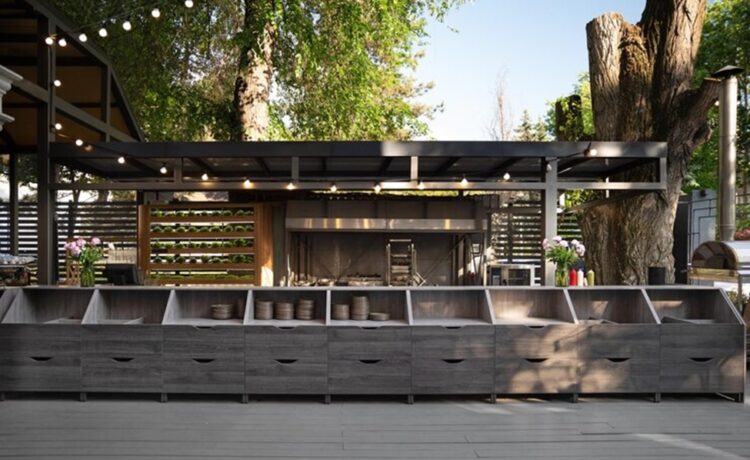
The allure of a custom patio beckons – a place for backyard barbecues, starlit evenings, and creating lasting memories with loved ones. While building a patio might seem like a daunting task, it’s a project achievable for the enthusiastic DIYer with the right planning and materials. This guide empowers you to transform your vision into reality, taking you through the essential steps of building a patio with ready-mixed concrete delivery.
1. Planning Your Custom Patio:
- Designing Your Dream Space: Consider the size, shape, and desired functionality of your patio. Sketch a layout that complements your outdoor space and accommodates your furniture and entertaining needs.
- Local Regulations and Permits: Research any local regulations or permits required for patio construction in your area. Knowing these requirements upfront ensures a smooth project and avoids delays.
- Material Selection: Choose the right materials for your patio base and surface. Crushed gravel is a common base material, while concrete pavers or stamped concrete offer various aesthetic options.
2. Excavation and Base Preparation:
- Mark Your Territory: Use stakes and string to mark the perimeter of your planned patio. Dig down to the desired depth, considering the thickness of your base materials and patio surface.
- Building a Strong Foundation: Create a stable base for your patio by adding a layer of crushed gravel and compacting it thoroughly. The precise thickness of the base layer might vary depending on your local soil conditions and patio size.
3. The Power of Ready-Mixed Concrete Delivery:
- Time-Saving Convenience: Ready-mixed concrete delivery eliminates the need for on-site mixing. This saves you time and effort, allowing you to focus on pouring and finishing the concrete.
- Choosing the Right Mix: Consult with a concrete supplier to determine the most suitable concrete mix for your patio project. Factors like strength, workability, and setting time need to be considered.
- Delivery Logistics: Plan your ready-mixed concrete delivery for a time when you’re ready to pour. Ensure you have enough people available to help with the pouring process before the concrete sets.
4. Pouring and Finishing Your Patio:
- Building the Forms: Construct wooden forms around the perimeter of your patio to define the shape and contain the poured concrete.
- The Art of Pouring: Carefully pour the ready-mixed concrete within the forms, ensuring even distribution and avoiding air pockets.
- Smoothing and Finishing Touches: Use a leveling tool, like a screed, to achieve a smooth and even surface. Once the concrete begins to set, apply your chosen finishing touches, such as troweling or stamping for a decorative effect.
5. Curing and Enjoying Your Creation:
- Concrete Needs Care: Allow the concrete to cure properly by keeping it moist for several days. This prevents cracking and ensures a strong and durable patio surface.
- Sealing for Protection: Once the curing period is complete, apply a concrete sealer to protect your patio from moisture, stains, and UV rays.
- Time to Relax and Celebrate: With your custom patio complete, you can finally sit back, relax, and enjoy the fruits of your labor. Host gatherings, relish al fresco meals, or simply unwind in your very own outdoor haven.


